How to Verify Automotive Body Parts Fitment
Fitment is the core quality attribute of any replacement body part. Here is a practical verification process for importers and distributors.
BOTAI Editorial Team · 27 October 2026
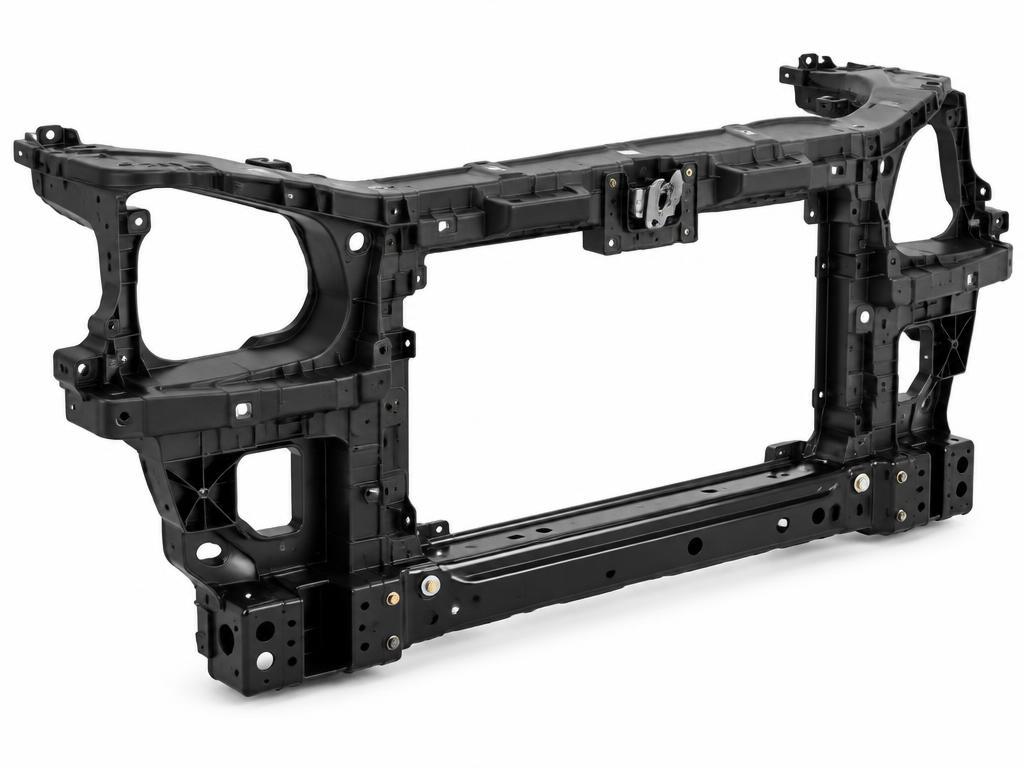
Ask any parts distributor about their most expensive problem and many will say the same thing: parts that don't fit. A replacement panel with misaligned mounting holes or the wrong sensor provisions creates returns, freight costs and frustrated repair shops. Verifying fitment before volume orders is the best way to prevent this.
Why fitment varies
Vehicles change during their production life. Manufacturers introduce facelifts, change trim-level features and revise mounting points, sometimes mid-year. A "2018–2022" application might actually include two or three different bumper covers depending on trim, sensor package and market. Aftermarket producers also differ in how closely their tooling matches the original.
Step 1: Define the application precisely
Start with the most precise description you can:
- Make, model and body style (sedan, hatchback, wagon, SUV)
- Production year range, and whether it is pre- or post-facelift
- Trim level and feature package (for example parking sensors, headlamp washers, camera)
- Market version, since vehicles sold in different regions can differ
Step 2: Use verified reference numbers
OE reference numbers are the clearest way to identify a specific part. Use numbers from a reliable parts catalog or the original part itself. If you are not sure a reference is correct, say so — it is far better to flag uncertainty than to build an order on a wrong number.
Step 3: Review mounting features
Ask the supplier for close-up photos of mounting features before sampling. For a bumper cover, check clip positions, bracket slots, sensor holes and fog-lamp openings. For a fender, check bolt holes, the bumper-mounting area and any side-marker or antenna provisions. For a radiator support, the number and position of mounting points is critical.
Step 4: Sample and test-fit
For new applications, order a sample and test-fit it on a vehicle or against an original part. Check:
- Alignment of all mounting holes and clips
- Panel gaps to adjacent panels
- Contour and character lines
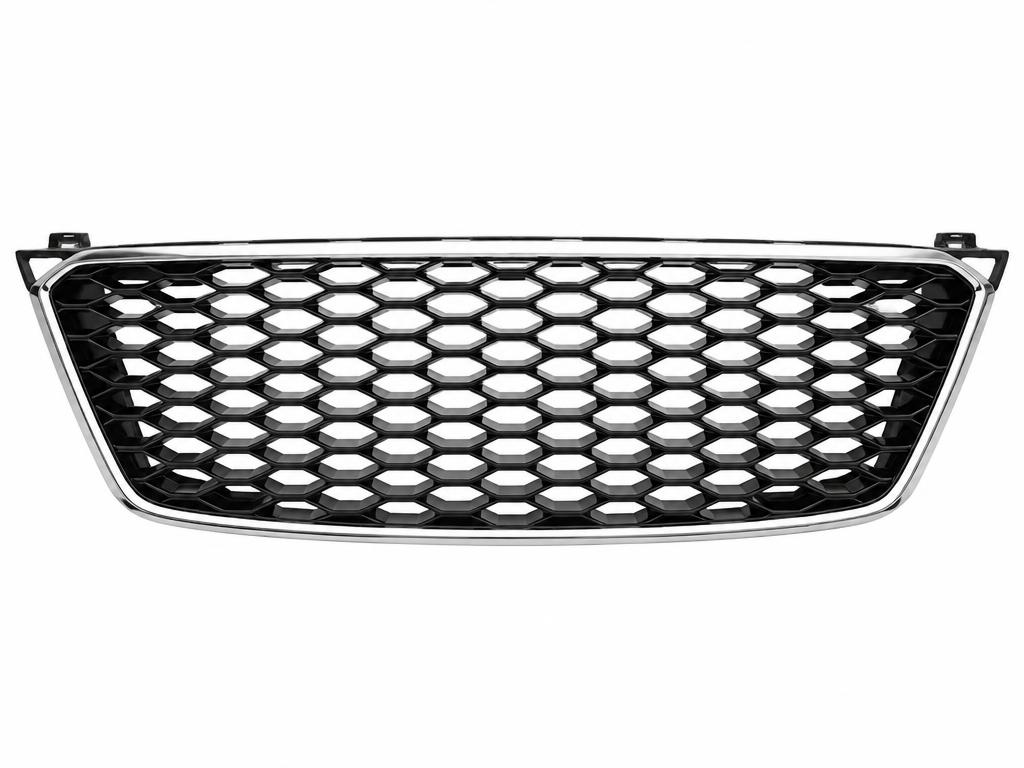
- Fit of related parts such as grilles, lamps and moldings
Record results with photos. If adjustments are needed, share them with the supplier in writing.
When test fitting isn't possible
If you don't have access to the vehicle, comparing a sample against an original part on a flat surface still reveals many issues. Some suppliers can also share photos of their own test fitting.
Step 5: Lock the specification
Once fitment is confirmed, record the approved sample details in the order specification. Ask that production matches the approved sample.
Step 6: Check during inspection
During pre-shipment inspection, compare production parts against the approved sample or photos. Mounting features should match exactly. See our manufacturing and quality coordination page for how we arrange this.
Handling fitment issues after delivery
If a fitment problem appears after delivery, collect clear photos, the vehicle details (including VIN where appropriate) and the part reference, and share them with the supplier promptly. Good documentation makes it far easier to agree a solution and to correct future production.
Frequently asked questions
Is a year range enough to identify a part?
Often not. Facelifts, trim packages and market versions can all change the part. Add as much detail as you have.
Should I sample every part?
Sample new applications and any part where the supplier flags uncertainty. Proven, repeat items usually don't need re-sampling.
Can a supplier guarantee fitment?
Responsible suppliers confirm fitment for verified applications and flag uncertainty clearly. Be cautious of blanket guarantees without verification.
Have an application list to check? Send it to us and we'll confirm coverage and flag any applications that need verification.